Magpie API Reference

Version 0.2 - Joy | What is this?


Warning: this site shows gifs which include flashing and strobing effects.

Magpie Functions

The following functions are functions unique to Magpie. These are all subject to changes and extensions as I develop Magpie further. Some of these things build on or complement existing Picotron functions.

frnd(n)

Fixed random number generation. Returns an integer between 0 and n (default 1). Unlike rnd(), which is unpredictable, frnd() pulls from the same list of random numbers every time draw() is called. This means that if you use frnd() to determine something like the position or colour of an object, it will be randomised every time you run your code, but will not be randomised between frames. Useful for randomly selecting things but having them remain constant within an execution.

If no parameter is passed, returns a float between 0 and 1.

frndf(n)

As frnd(n), but returns a floating-point number (i.e. not a whole number). Uses the same sequence of random numbers as frnd(n).

frndcol(palette)

Returns a random colour from the given list. Uses the fixed random number generator (see frnd())

p(pattern, time, speed)

The syntax for this command is changing a lot and may be different in future versions.

Returns true when the given pattern is active, using the given timer and speed. This is designed to create behaviour similar to uzu-style patterning, but it is jankier and doesn't work as reliably. Here's an example - pattern("1010", 1, 1). This splits the first timer (t1()) into four segments, and returns true whenever the timer is in the first or third segment.

tf(n)

Returns true on the frame that the numbered timer resets. This can be used to trigger things on the beat. e.g. if tf(1) then cls(7) end will flash the screen white on the frame that t1() resets itself.

t1() (Also: t2(), t3(), t4())

Returns a number between 0 and 1, indicating how far through the timer's cycle it is. The rate at which this increases is based on the timer's BPM, which can be set on the Timer screen (mode 3). When a timer reaches 1, it resets to zero.

tri(x, y, rad, ang, col)

Draws an equilateral triangle composed of three lines, centred on (x,y), of 'radius' rad. ang defines how rotated the triangle is (using Picotron's rotation system, so 0-1) and col defines the colour it is drawn as.

squ(x, y, rad, ang, col)

As with tri(), this defines a square composed of four lines, centred on (x,y), of 'radius' rad. ang defines how rotated the square is (using Picotron's rotation system, so 0-1) and col defines the colour it is drawn as.

fade(a)

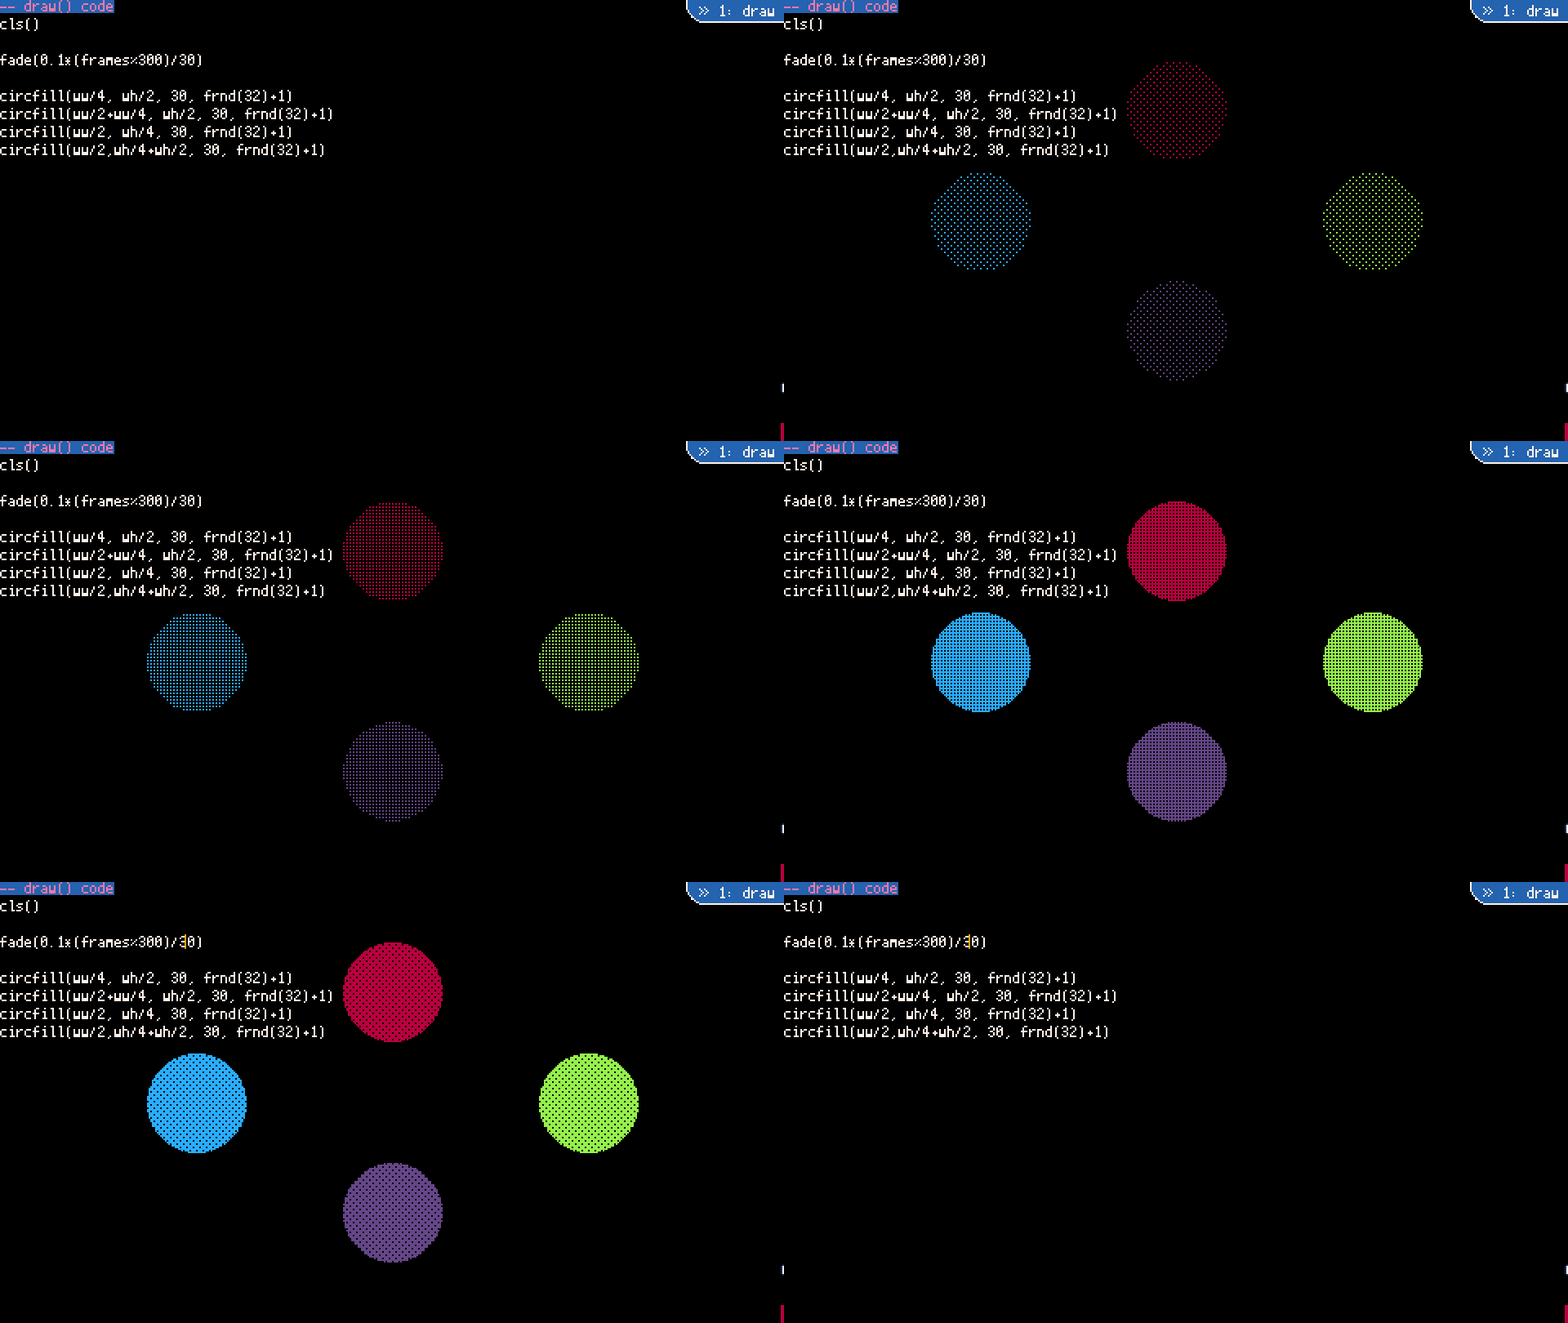
Sets the 'opacity' of drawn shapes and lines to a (in the range 0-1, so 0 is completely transparent, and 1 is completely filled). What this actually does is pick a 'fill pattern' so more transparent colours are drawn with a less dense pattern.

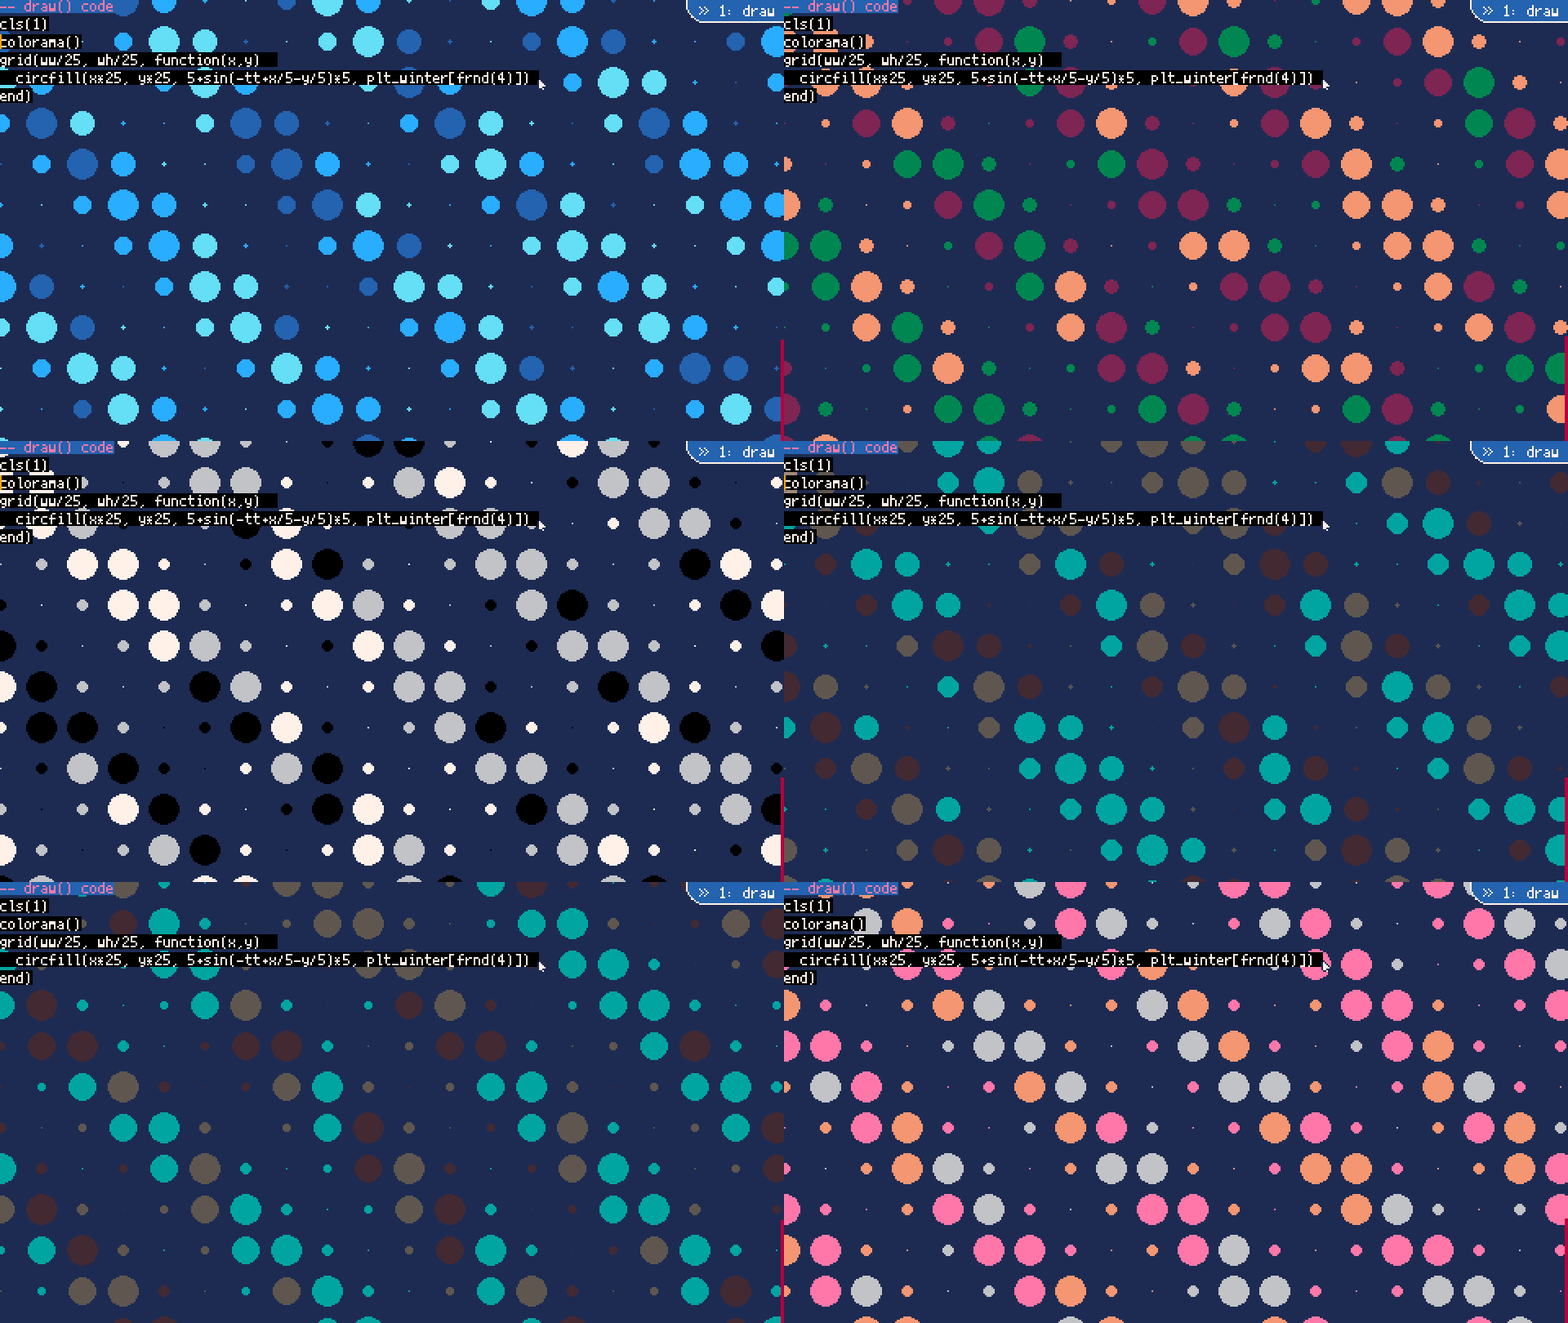
colorama()

Randomises the colours in the palette. This uses fixed randomness, so it doesn't change every frame, but changes every time you re-run your code.

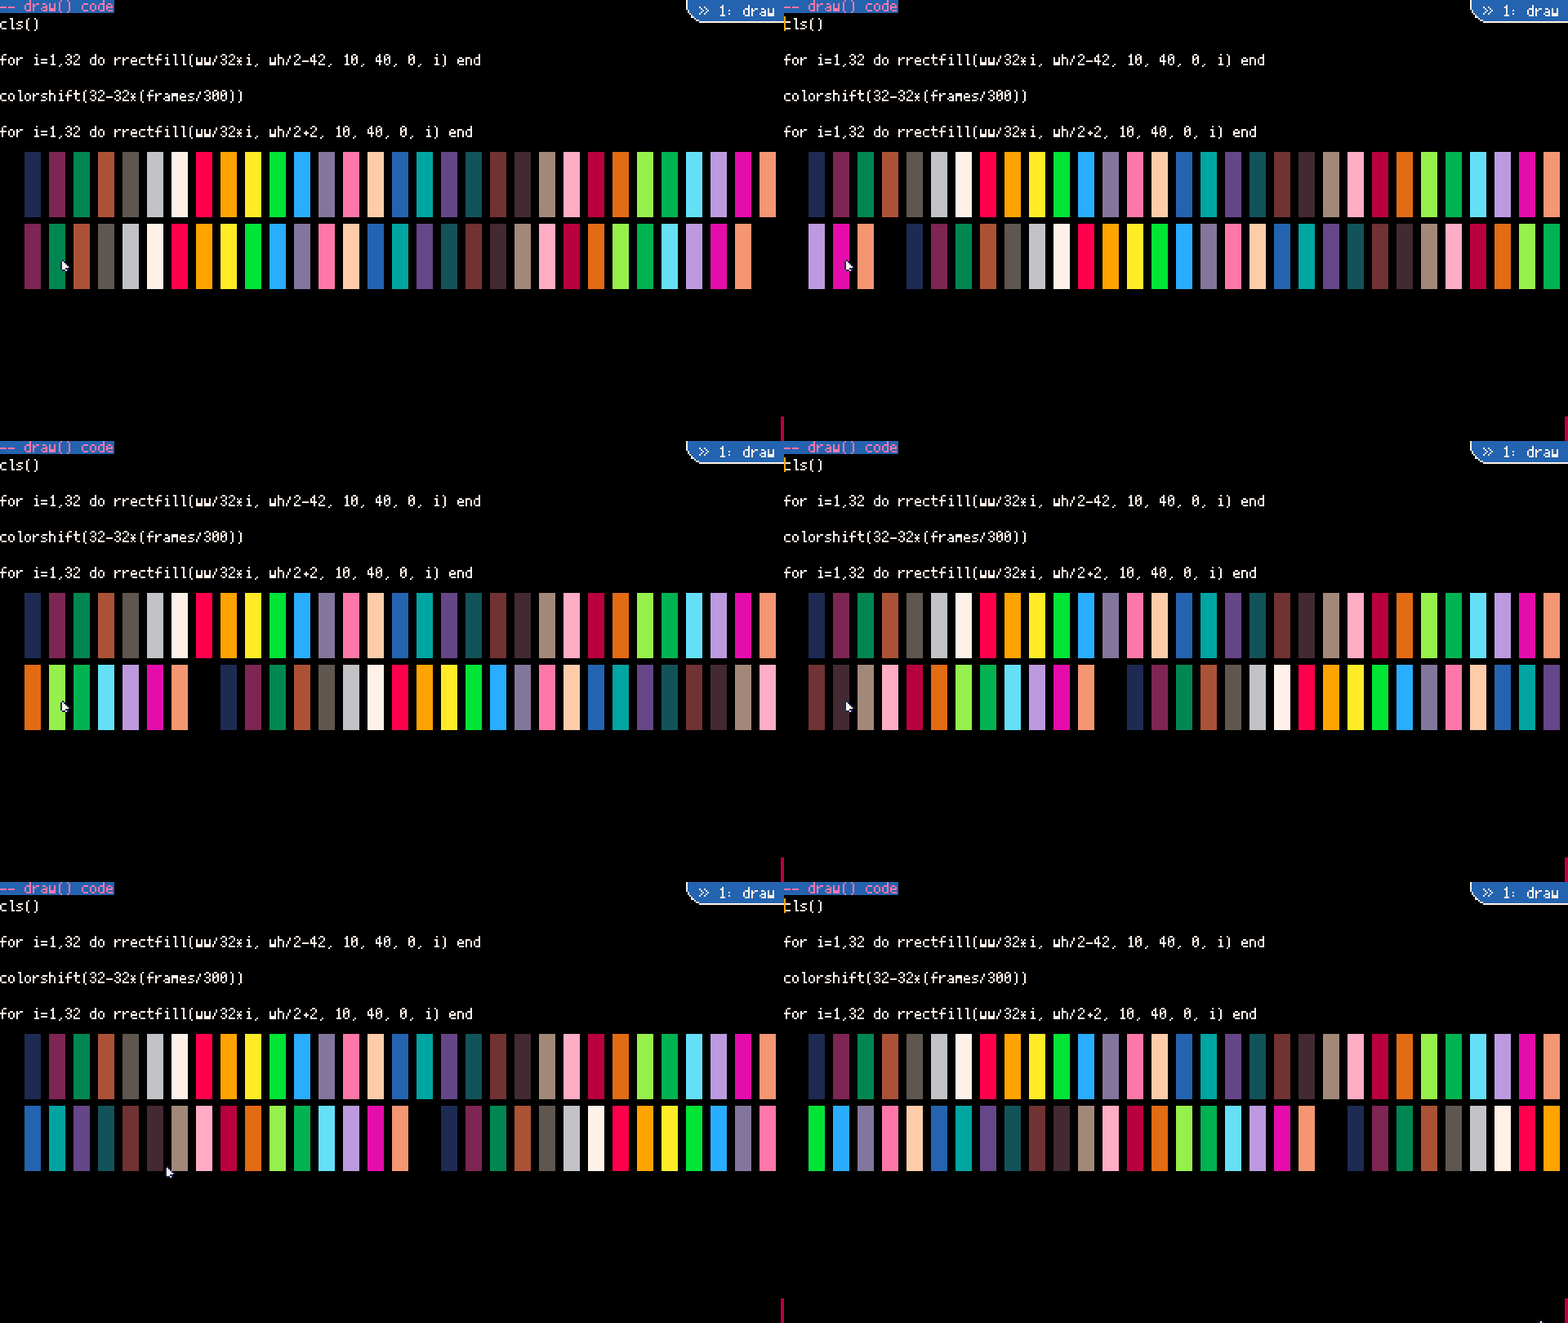
colorshift(n)

Shifts all colours across the palette by n. Note this doesn't do them in hue order, but palette order, so it won't neatly change a red into an orange and then a yellow.

scratch(str)

Applies a 'scratching' effect to the screen, where pixel colours are pulled sideways at random. str controls how strong the effect is.

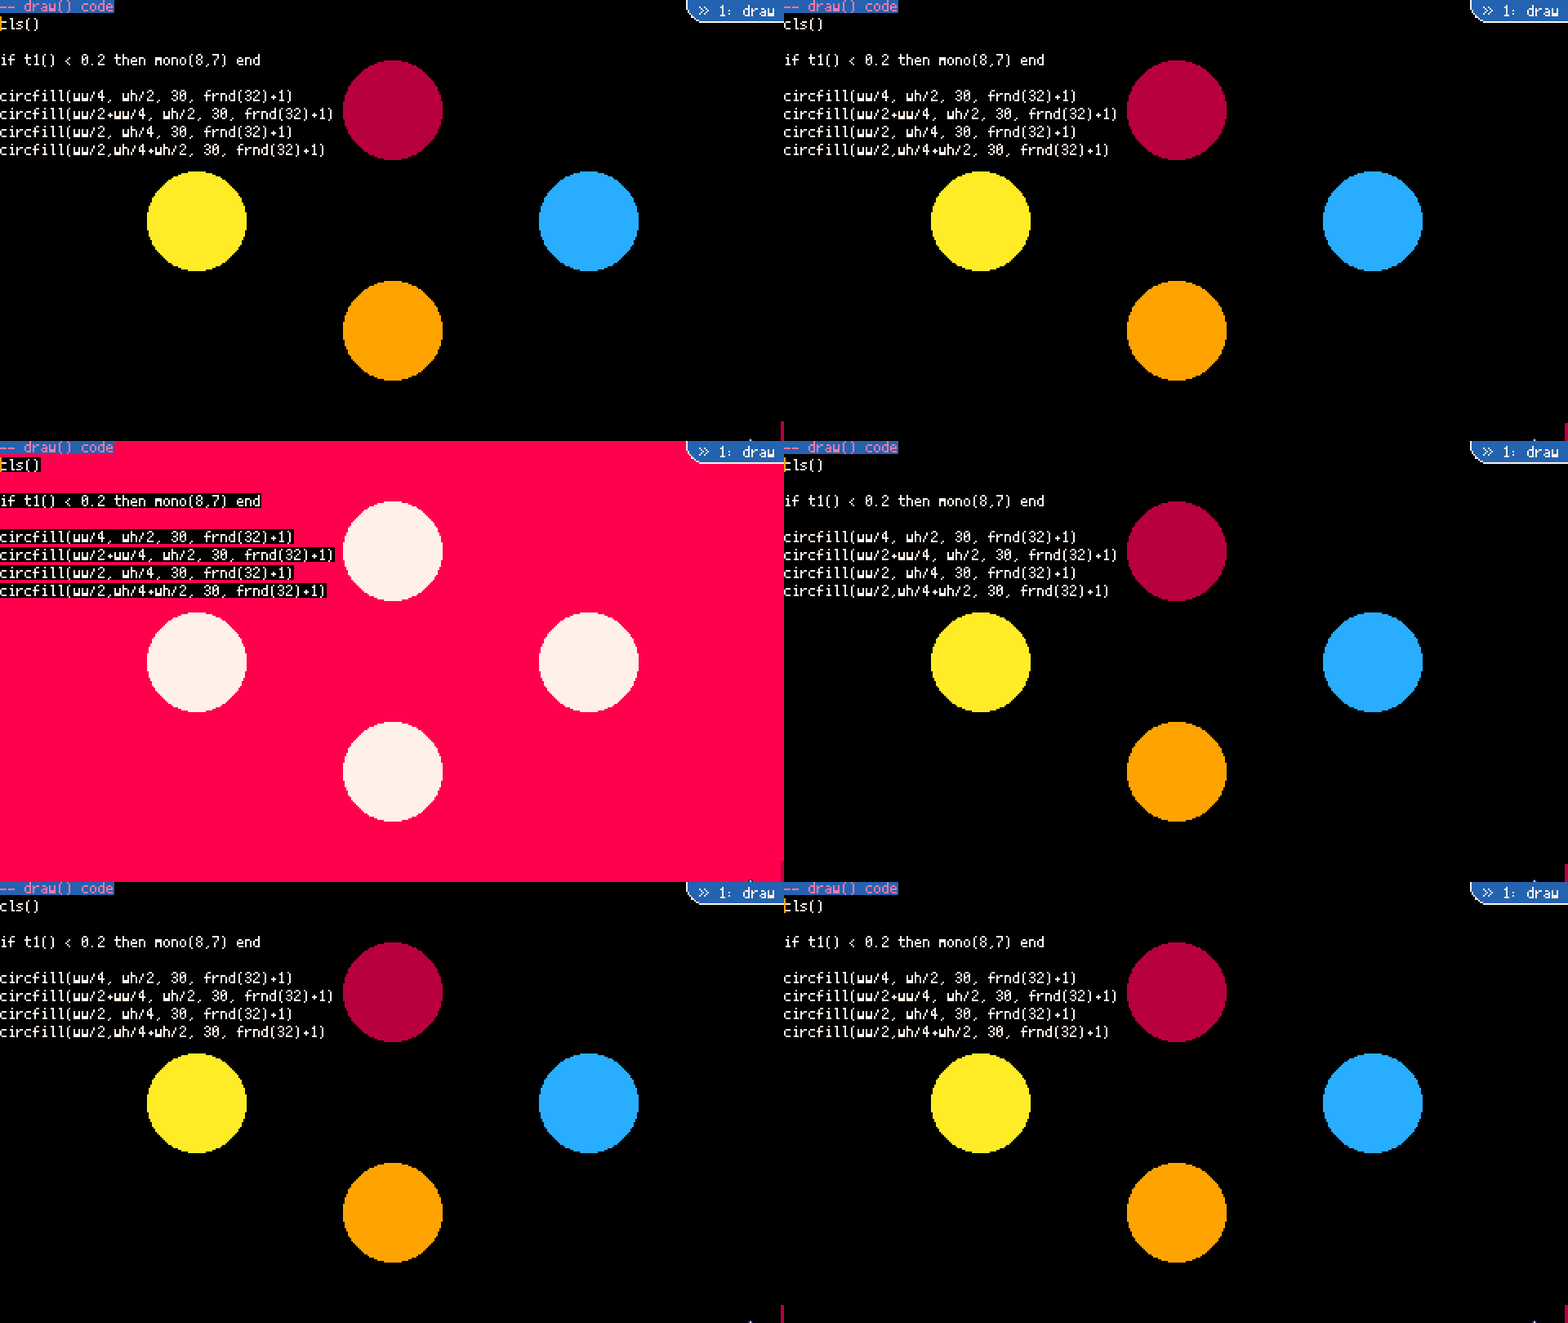
mono(c1, c2)

Clears the background to colour c1 and then sets all other palette colours to c2. This creates a very effective silhouette effect. This is reset at the end of every frame. I like to use this in conjunction with timers or other triggers, but be aware it needs to be used for a few consecutive frames to be visible. Try something like: if t1() < 0.2 then mono(7, 8) end.

tcls(c)

The same as cls(), but it draws a filled rectangle across the screen instead. This means it is affected by things such as fill patterns, which cls() normally ignores.

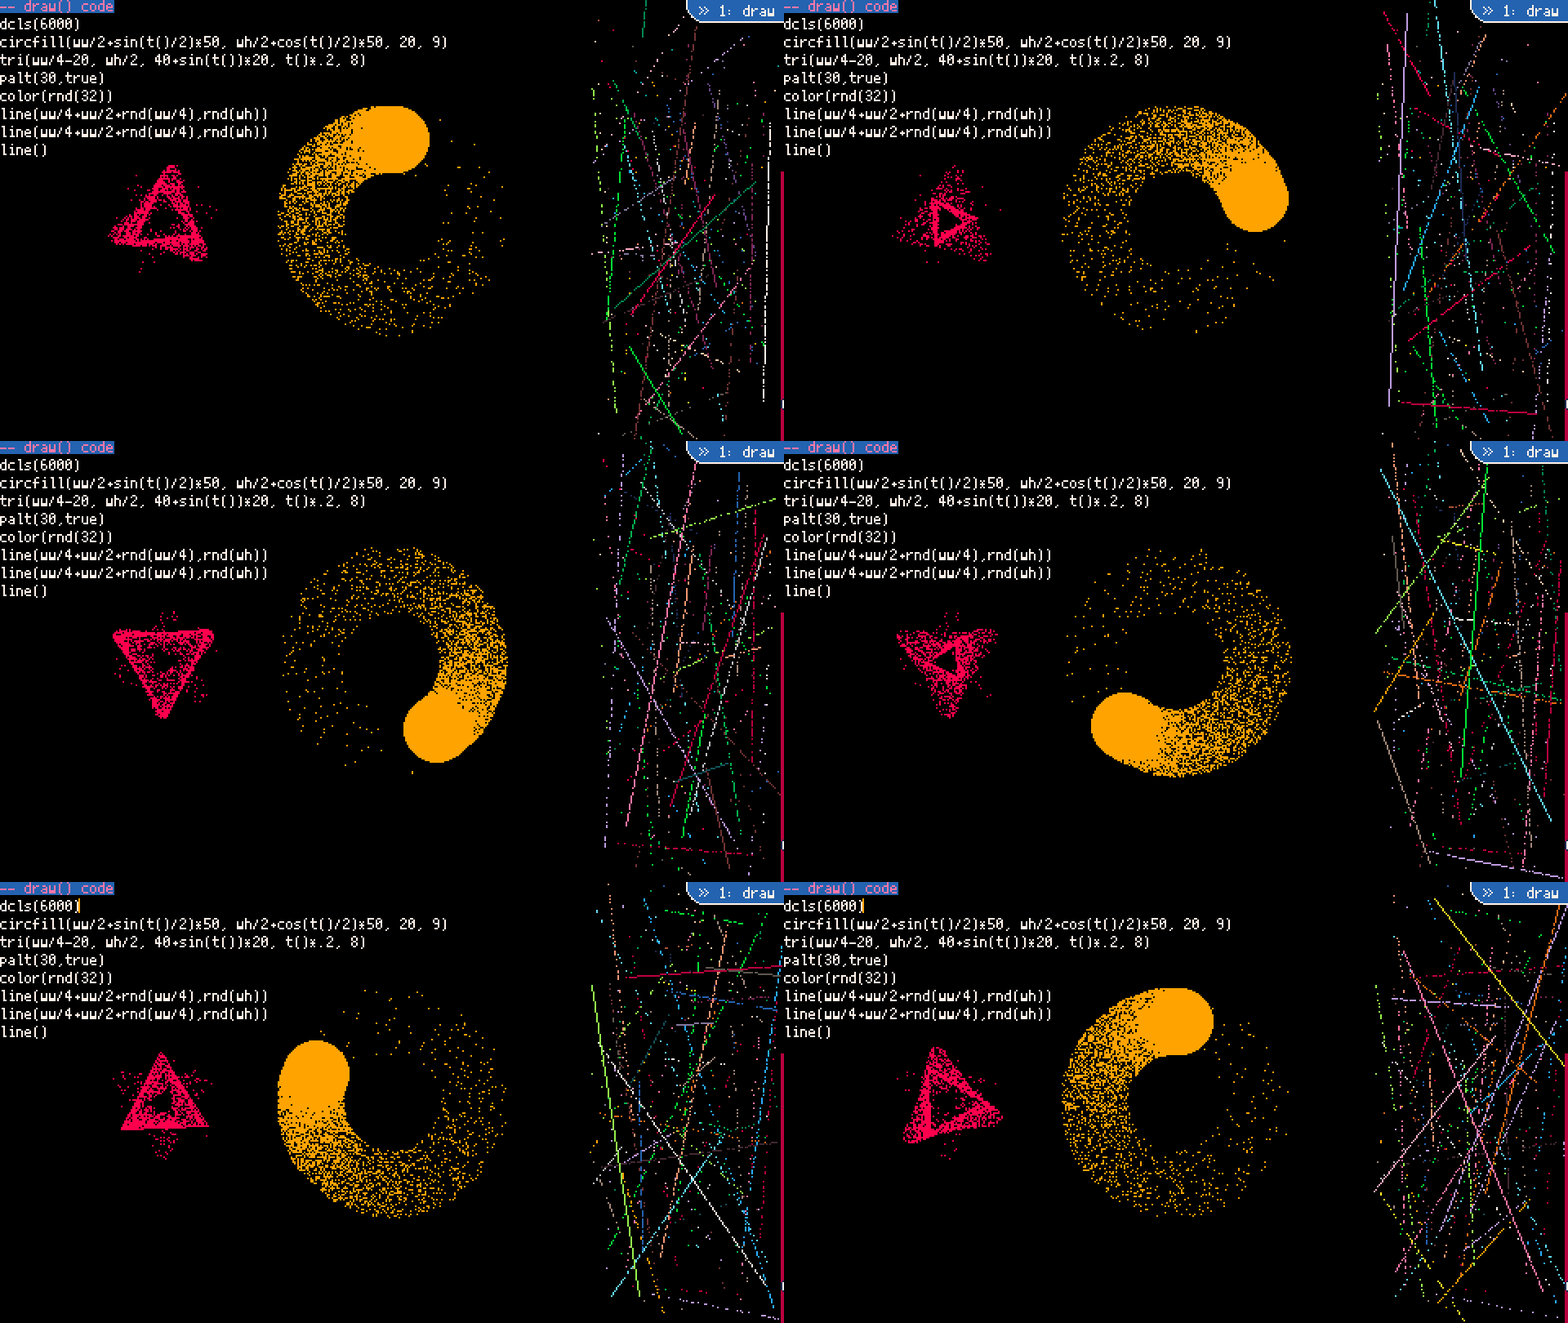
dcls(n,c)

Randomly splats n pixels onto the screen each frame, of the colour c. At low numbers this is not very effective at clearing the screen, but at high numbers it becomes quite heavy on the CPU. 3000 is a nice starting value for n, 6000 for a more reliable/fast screen clear.

rcls(n)

As dcls(), but instead of splatting a designated colour it instead picks another random pixel on the screen and uses that colour instead. Over time this will not properly clear the screen, but can create very interesting clear patterns that recycle a dominant colour palette.

fcls(n,c)

As dcls(), but instead of splatting a designated colour, it instead splats the pixel colour directly above it. This creates the affect of pixels melting or running down the screen, but the effect is quite slow. Not as useful for screen clears but can create interesting texture in slow scenes.

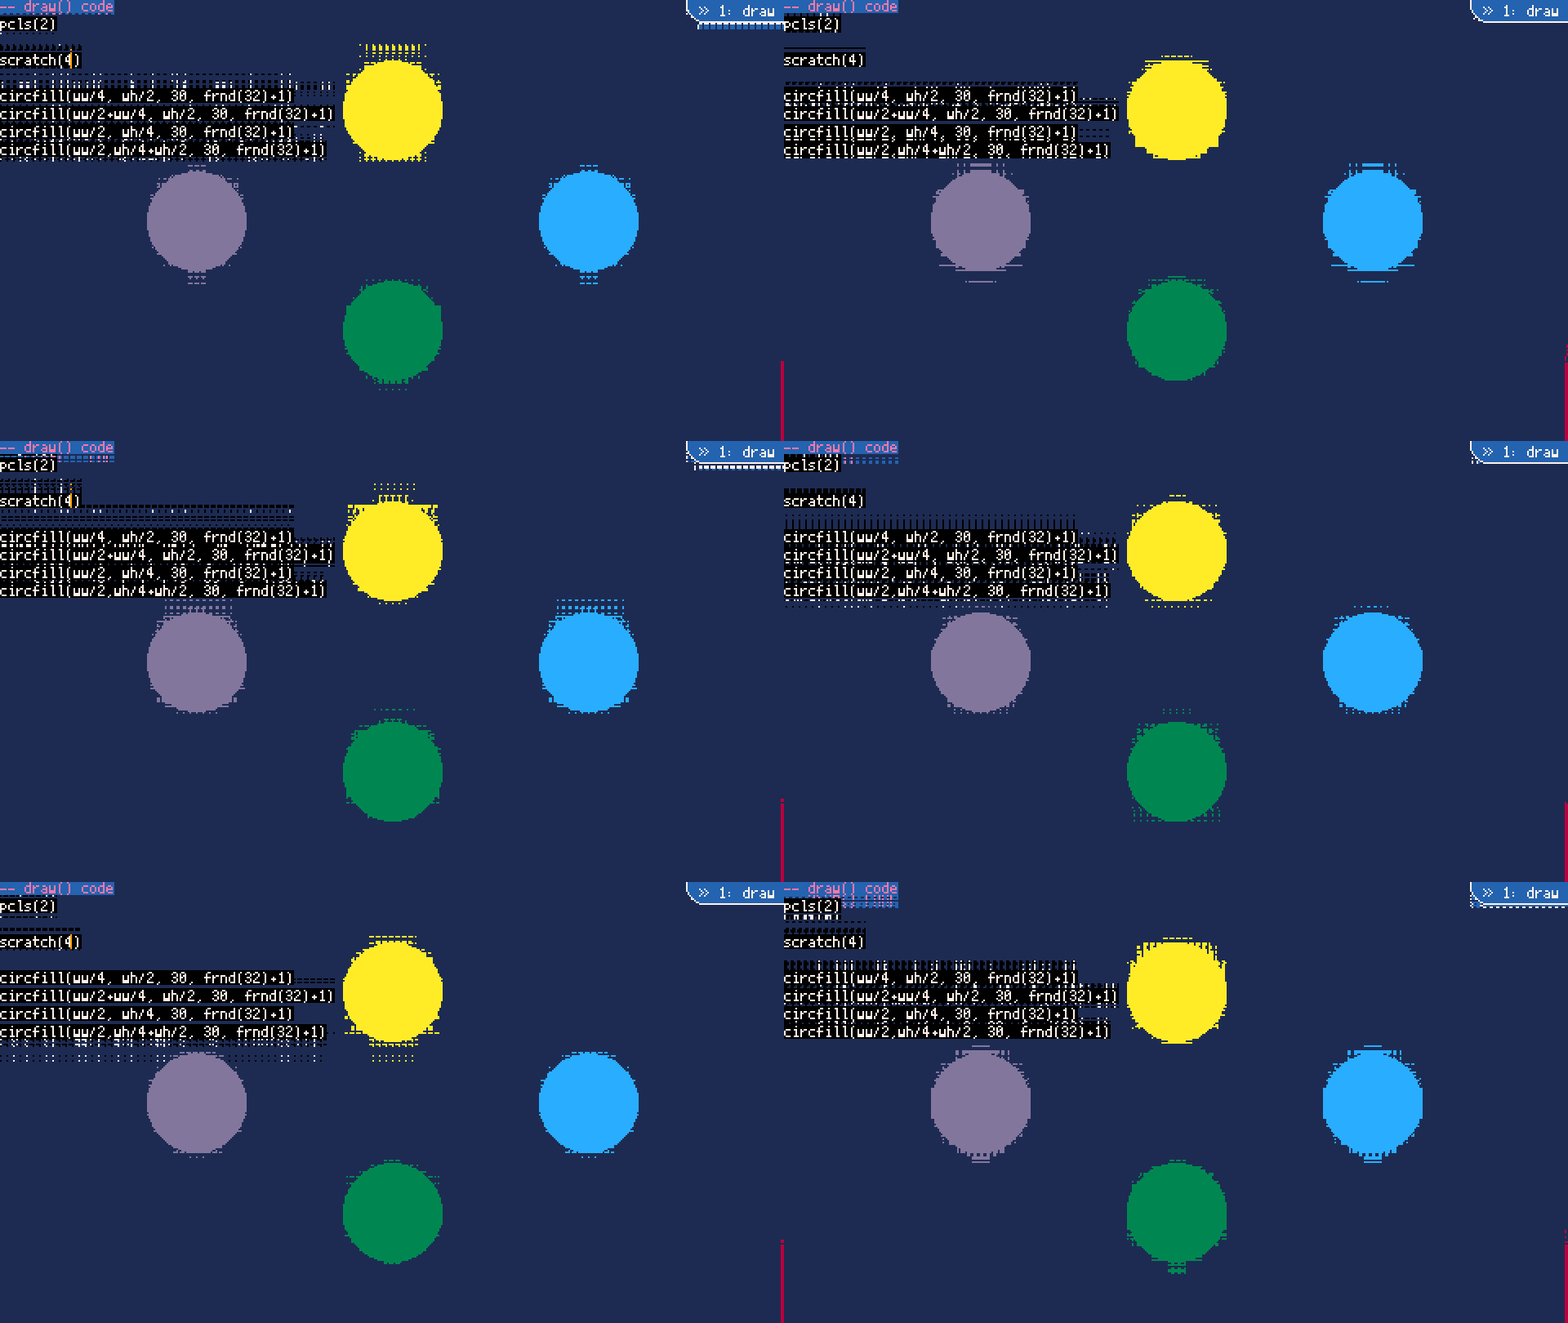
pcls(n,c)

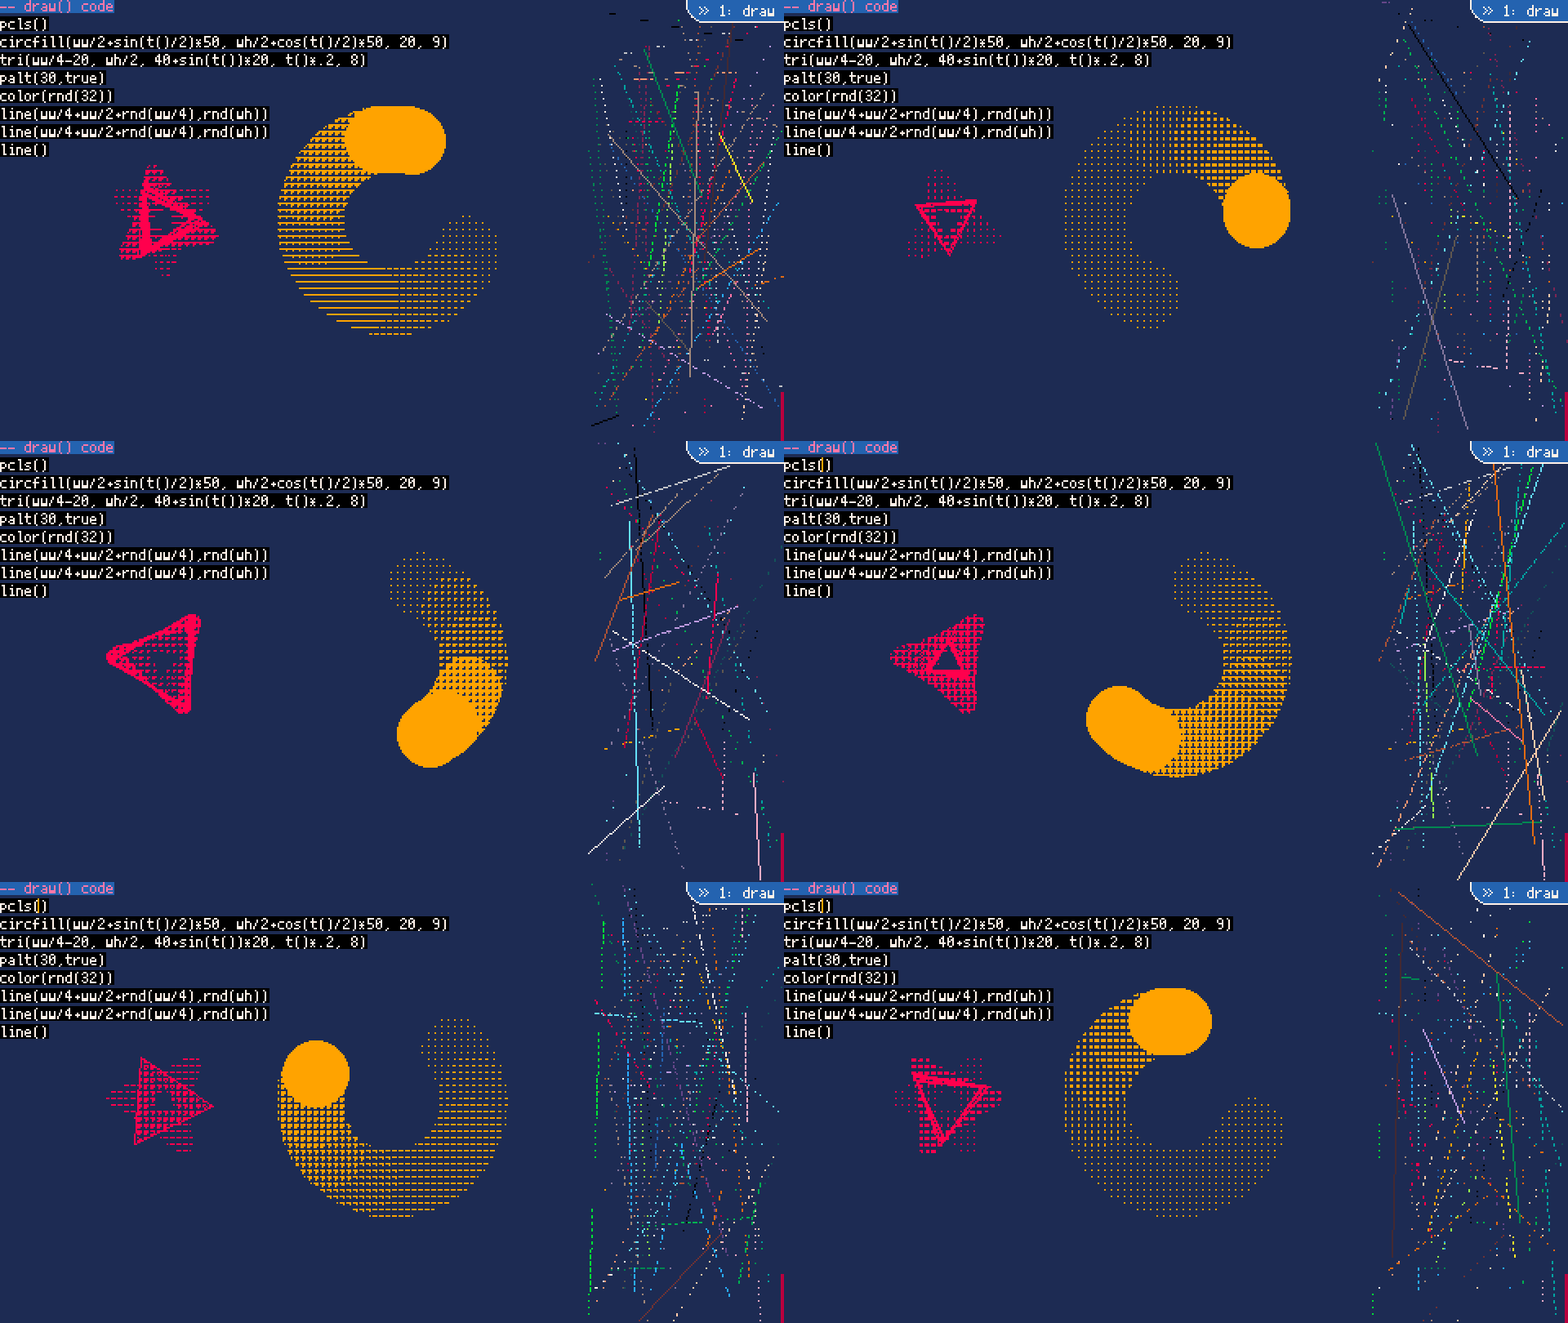
Clears the screen every n frames, with the colour c. When clearing the screen it uses a grid pattern that only clears part of it, and then rotates the pattern slightly. This means over time it clears the whole screen, so the smaller n is the faster it clears. 1 is very rapid clearing, 6-10 are interestingly textured clears that allow objects to leave trails. Has the advantage of granular clearing like dcls(), but is much, much more efficient - with the tradeoff being that it doesn't have a nice random texture to it.

grid(x,y,func(i,j))

The syntax for this command is changing a lot and may be different in future versions.

This function is designed for applying a function multiple times across the screen in a gridlike pattern. It splits the screen into a grid of areas that are x pixels wide and y pixels high. Then for each of these grid areas, it calls your function func and passes it the indices of a grid spot. This means that i and j are not pixel co-ordinates but instead represent the position in the grid. A quick way to place something within the grid square is to multiply it by x and y, e.g. rectfill(i*x, j*y, x, y).

pwrite(str,x,y,c,fx,fy)

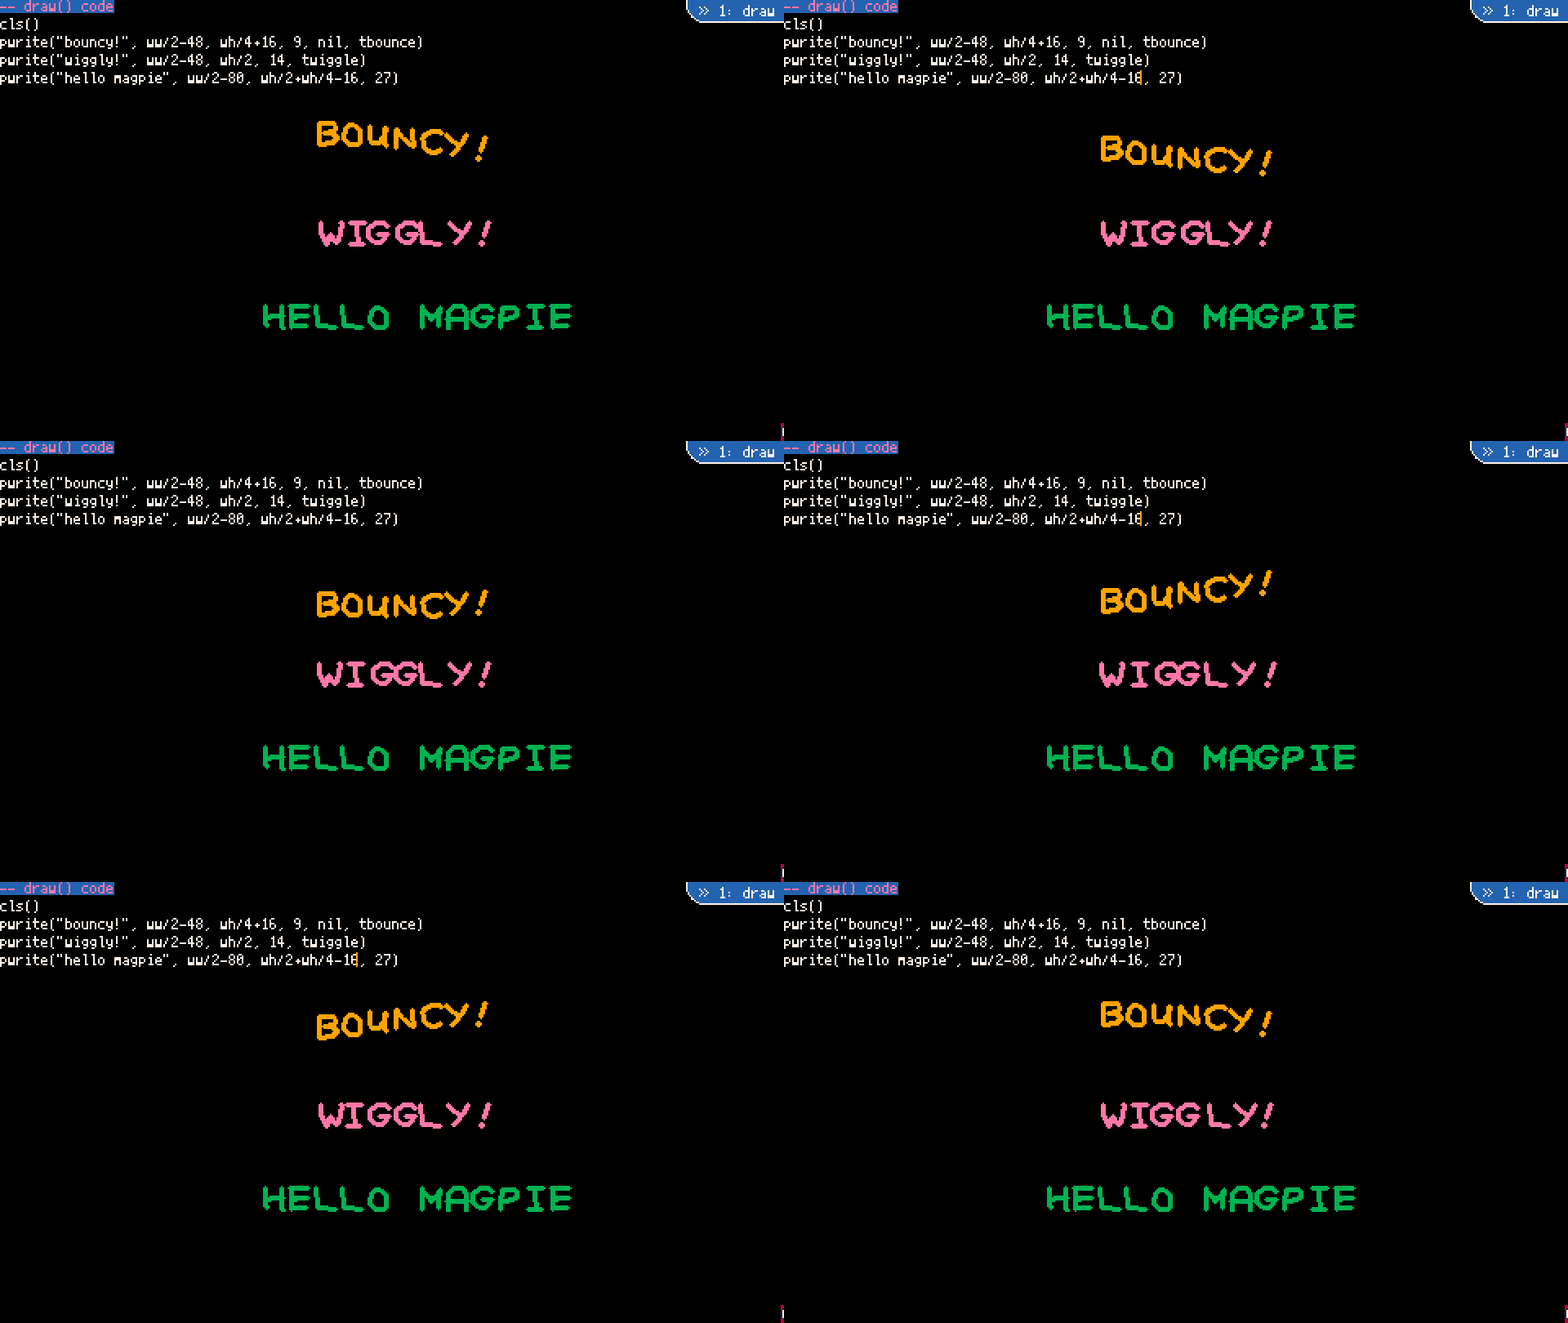
Writes the text string str at the position x,y in the color c, using a special sprite font made by me. Only one font is available at the moment. fx and fy are optional functions that affect the x and y positioning of each letter. I've provided a few you can pass directly in: twiggle for fx and tbounce for fy.

col(r,g,b)

Returns the Picotron palette colour that is closest to the given RGB colour.

pool(n)

The syntax for this command is changing a lot and may be different in future versions.

Creates a pool of n objects with common properties and behaviour. Can be chained with other functions to modify its behaviour. The pool should be created in the init() code, and assigned to a variable.

:spr(s) can be appended to the call to pool(n) to make all of the pooled objects pick a sprite at random from the list s. When the object is drawn, they will draw their sprite instead.

:map(func(item, i)) maps a function func onto each object in the pool. The function is passed two arguments: the item itself, and its index in the pool.

:tick(spd) can be called every frame (i.e. in draw()) and updates each object in the pool. By default, pooled objects have a direction they are moving in, set at random. They will move at spd pixels per second in this direction (default: 1).

:draw(col) can be called every frame (i.e. in draw()) and draws the objects to the screen. By default they are drawn as circles, of the colour col, unless you have set them to draw with a sprite.

.edge_func (note . not :, this is a field) sets the behaviour for when an object exits the screen. Current options are wrap (default behaviour), bounce and recenter.

For a fuller example of how pool() is used, call pooldemo() (note: this erases your current code).
lerp(start, end, t)

Returns a value between start and end proportional to the value of t. We assume that t is a value between 0 and 1, where 0 means the function returns start, 1 means the function returns end, and anything in between is linearly scaled between the two values. To see what we mean, try: circfill(ww/2, lerp(0, wh, t1()), 25).

blit(x1, y1, x2, y2, w, h)

Copies the pixels from one area of the screen to another. The pixels are copied from a rectangle whose top-left corner is at (x1,y1), w pixels wide and h pixels high. The pixels are copied to a similar-sized rectangle, whose top-left corner is at (x2,y2). Note: this is a renaming of the Picotron function blit to make it easier to use in the most common case. If you want to blit to/from somewhere other than the screen, you can find the original Picotron blit function renamed to pico_blit().

Picotron Functions

Picotron already has a very extensive API of amazing things it can do! This is a non-exhaustive list of some of the most useful functions that I use when performing with Magpie. For a fuller guide to using Picotron, please see the Picotron manual.

rect(x1, y1, x2, y2, c)

Draw the outline of a rectangle, with the top-left corner at (x1,y1) and the bottom-right corner at (x2,y2). The rectangle will be drawn with the colour c, or whatever the active colour is if you don't specify a colour.

rectfill(x1, y1, x2, y2, c)

The same as rect() but it fills in the rectangle with the colour instead of drawing an outline.

circ(x, y, r, c)

Draw the outline of a circle or radius r, with the centre at (x,y), in the colour c.

circfill(x, y, r, c)

The same as circ() but it fills in the circle with the colour instead of drawing an outline.

line(x1, y1, x2, y2, c)

Draws a line from (x1,y1) to (x2,y2) in the colour c or the active colour if not specified.

line(x, y)

If you just specify one pair of co-ordinates for line, it will draw a point from wherever the graphics system last drew a line, to (x,y). This means you can draw one continuous connected line by calling line with two arguments many times, instead of having to call it lots of times with repeated points. To 'finish' a line, call line() with no arguments.

What is Magpie?

Magpie is a digital art tool for making nice-looking things by writing snippets of code. It's designed in Picotron, which is a retro-inspired 'fantasy computer'. Magpie is designed for livecoding, where you (usually) write code in front of an audience and create visuals for them as they watch it happen! This means it has some very specific design features, like quick shortcuts for running your code and displaying your code at all times by default. For more information about Magpie, including videos, screenshots and download links, please visit the itch.io page.

What is this website for?

This website is a reference for things that I have put into Magpie for you to use while livecoding. Magpie is built in Picotron, so you can already use all of Picotron's features when coding (like drawing sprites or shapes). But I've added lots of extra features and useful shortcuts on top that are designed to help you perform. All of these features are things I've used personally and were added based on what I felt was fun, interesting or cool to use in my performances. I'm trying to add sample code and gifs, but these take time and will be added slowly.

If you have any questions or don't understand something, please drop a comment on the itch.io page. I'll be improving this documentation over time, hopefully, and adding more tutorials and guides. Magpie still has lots to be added to it as well. I hope you enjoy using it in the meantime!